
Home / Layout & design
Layout & design
Layout & Design
A layout, planned
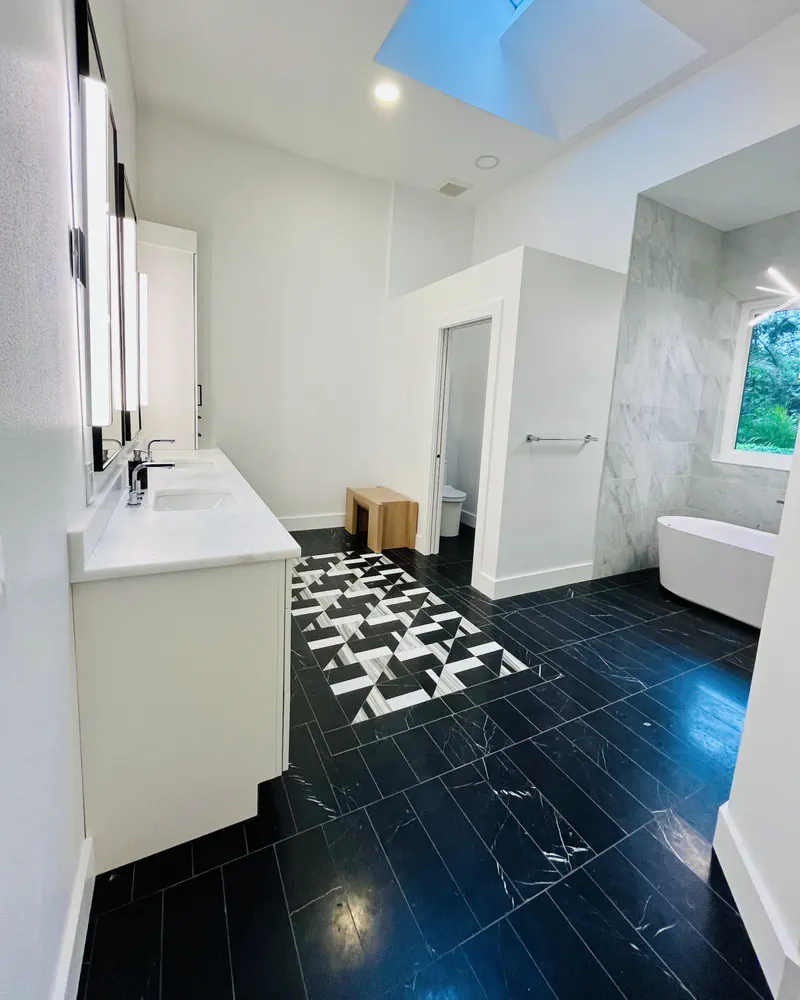
The floor layout on this job took roughly a day and a half. From expanding the shower floor size to creating the size of the rug, everything was designed to be centered, with the rug centered between the cabinets.
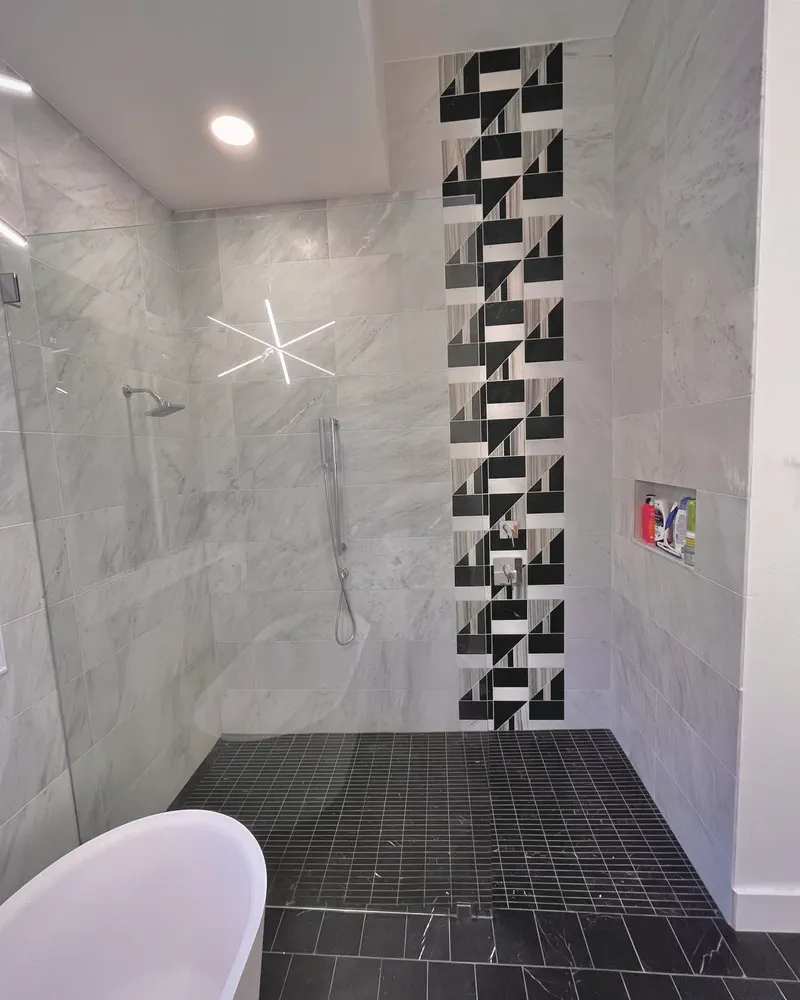
The shower’s vertical accent is centered at the very top, giving it a chimney look. We made sure the valves would be in the center of the accent as well.
We thought it was very important to have big pieces everywhere. Because we were half an inch short of a full tile at the top, we decided to mud the drop ceiling to make this layout work. The patterns match up on the wrap around the window.
Planned before it is built
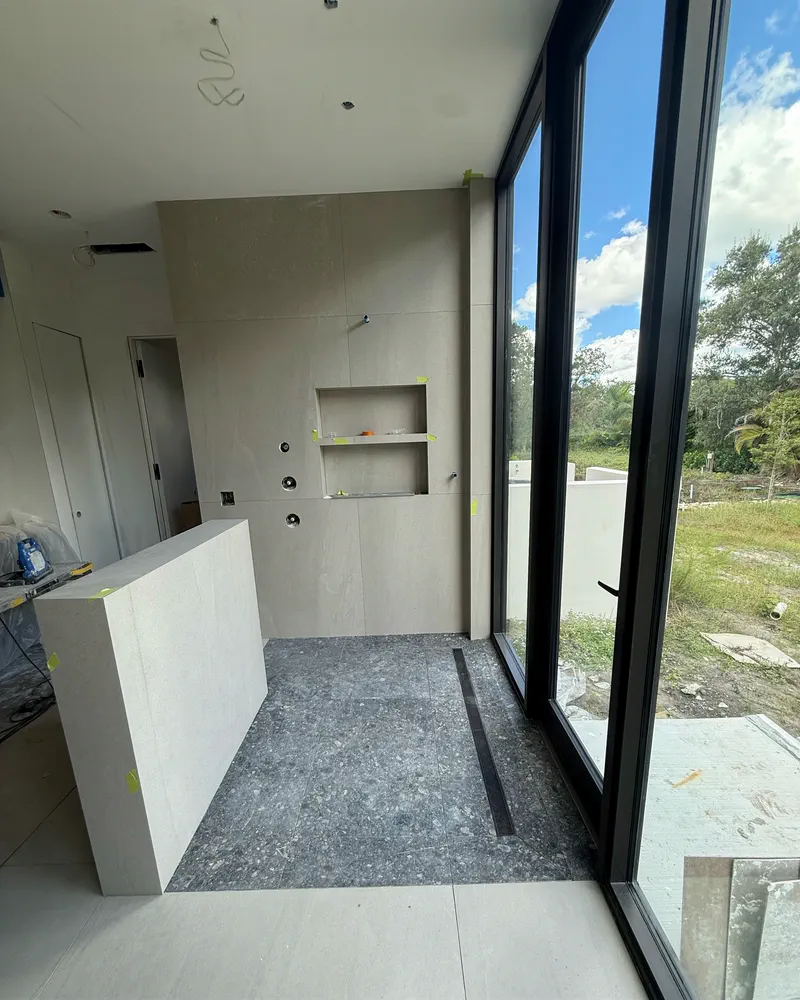
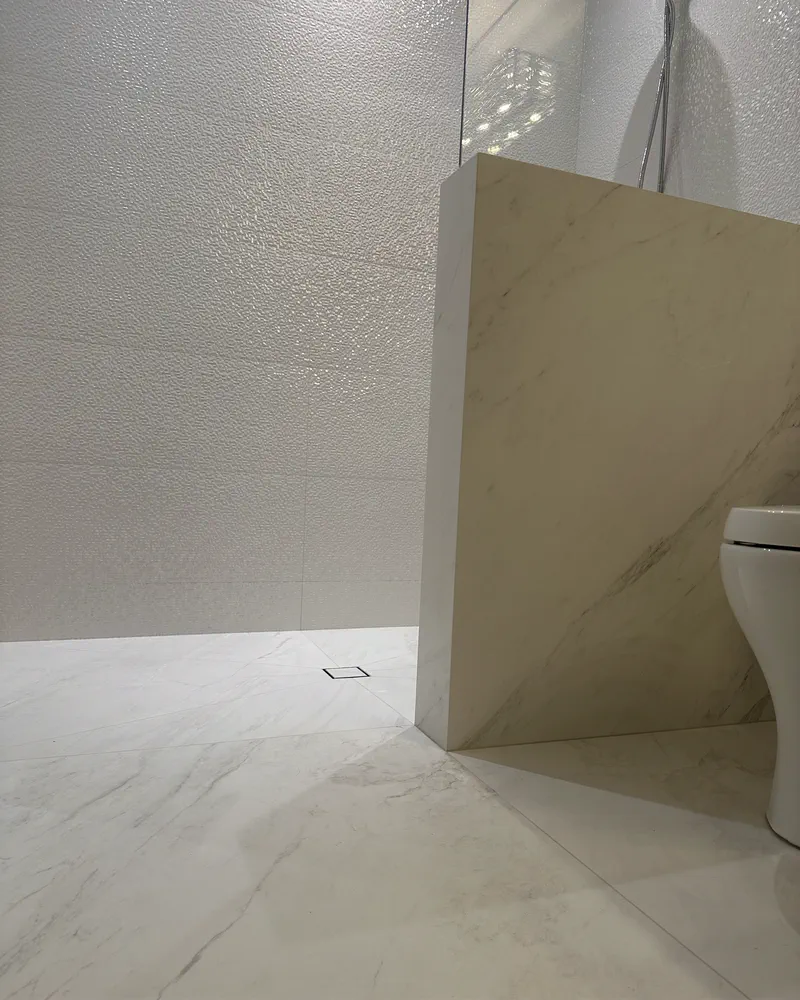
A niche, a pony wall and a drain only land right when the layout is worked out first: where each cut falls, where the joints run, and how the pieces meet at the corners. That planning includes the geometry of the room itself, so the finished shower reads as one design instead of a set of compromises.
Natural stone, placed with intent
The marble chosen for the shower wasn’t just slapped on in the order it was unpacked. All the shower tile was individually laid out on a large open floor and numbered in order to get a flowing pattern through the whole shower. Natural stone is always different, and sometimes it’s too different, so a lot of tile was thrown out or put in a corner where it matched the pattern.
Perhaps the hardest part of everything was choosing which piece goes where. It was one very fun job, and we enjoyed working for customers who chose such amazing stone.
More on epoxy grout
For our full epoxy grout approach, see Epoxy Grout Installation.
Mitered corners
Corners and benches can be finished with a mitered tile corner instead of a metal or plastic trim strip.